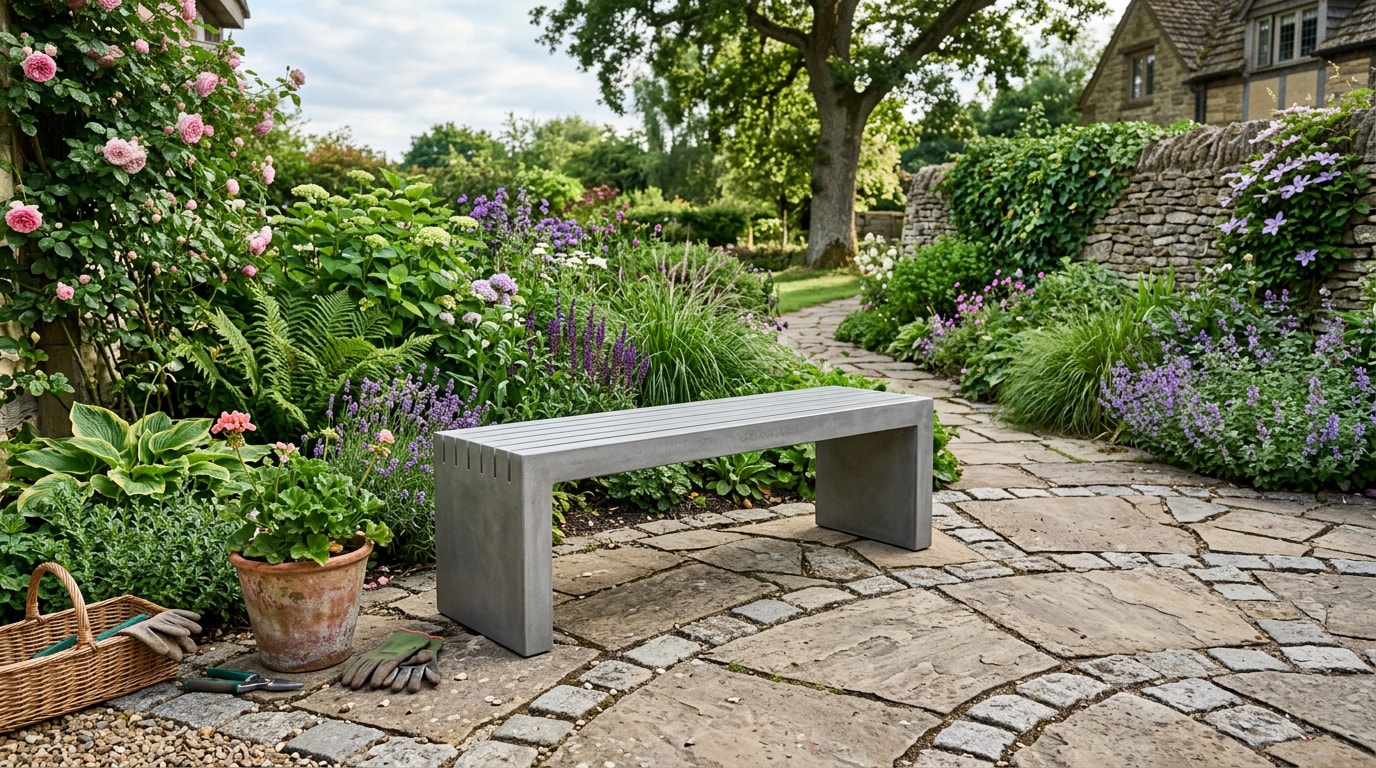
A concrete bench outdoor Greater Charlotte Area, NC homeowners build needs the right mix, mold, and cure schedule to survive our freeze-thaw swings. This guide covers design, materials, pouring, and curing, plus when it makes more sense to call a concrete pro. Charlotte-area weather stations show the region averages roughly 41 freeze-thaw cycles a year, which is enough to crack a rushed pour within a single winter.
Concrete Bench at a Glance
| Spec | Typical Range |
|---|---|
| Length | 48-72 inches |
| Width | 14-18 inches |
| Seat height | 17-19 inches |
| Recommended mix strength | 4,000-5,000 PSI, fiber-reinforced |
| Initial set | 24-48 hours |
| Walkable | Around day 7 |
| Full load-bearing cure | Close to 28 days |
Planning Your Concrete Bench Design
Good bench planning starts before you touch a bag of concrete mix. Nail down size, shape, and site conditions first, since these choices shape everything that follows.
Measurements and Dimensions
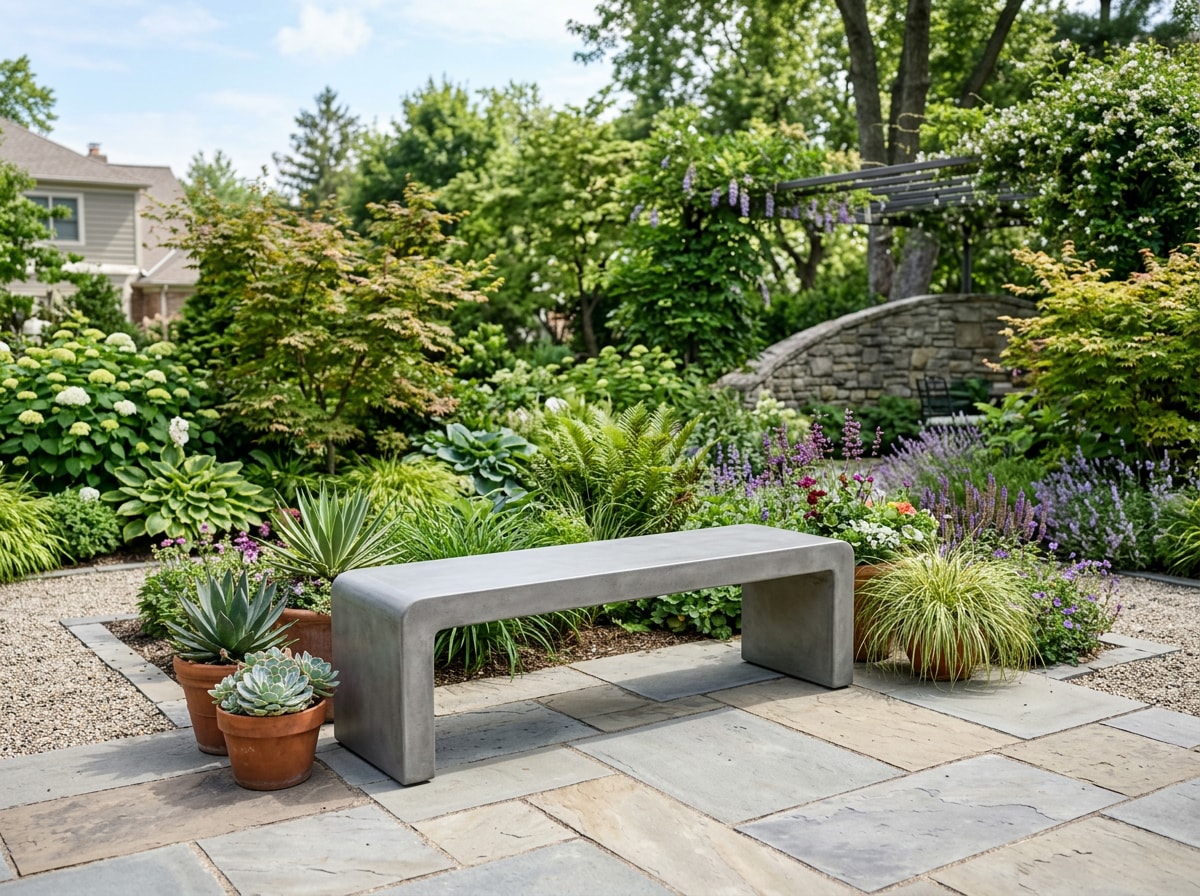
A standard concrete bench runs 48-72 inches long, 14-18 inches wide, with a seat height of 17-19 inches for comfortable adult seating. Larger seating capacity means a bigger mold, more concrete volume, and significantly more finished weight to plan for.
Choosing the Right Location
Pick level ground with a slight drainage slope away from the bench, away from low spots where water pools. In the Charlotte area, clay-heavy Piedmont soils can hold moisture and shift seasonally, so check where we work across the Greater Charlotte Area before finalizing placement in a patio, garden bed, or walkway nook. Sun exposure matters too, since full afternoon sun heats concrete surfaces considerably by late summer.
Materials and Tools Needed
Gather tools, reinforcement, and your concrete mix choice before mixing day arrives.
Tools Required
You'll need:
- A mixer or wheelbarrow
- A mason's trowel
- A level
- A drill with a mixing paddle
- A rubber mallet
- Basic safety gear (gloves, eye protection, a dust mask)
Choosing the Right Concrete Mix
Standard mixes work for light decorative pieces, but outdoor benches carrying real weight need more. Fiber-reinforced mixes resist cracking from freeze-thaw cycling, while high-PSI mixes (4,000-5,000 PSI) offer the compressive strength outdoor furniture demands. Compressive strength for residential concrete typically runs from 2500 psi (17 MPa) for residential concrete to 4000 psi (28 MPa) and higher in commercial structures , so a bench exposed to seasonal moisture should sit toward the higher end of that range. For Charlotte's freeze-thaw swings, fiber-reinforced concrete at 4,500+ PSI is a safer bet than a standard 3,000 PSI mix. A 3,000 PSI mix may crack sooner under seasonal moisture shifts. Always confirm mix ratios against the manufacturer's guidance, and see NRMCA's compressive strength testing guide for how load-bearing applications are typically specified.
Preparing the Mold
The mold determines your bench's final shape, surface finish, and structural integrity.
Selecting Mold Material
Melamine-coated boards give the smoothest finish and release cleanly, while plywood is cheaper but needs sealing to prevent surface pitting. Reusable molds favor melamine; one-off projects can get by with sealed plywood.
Building the Mold/Frame
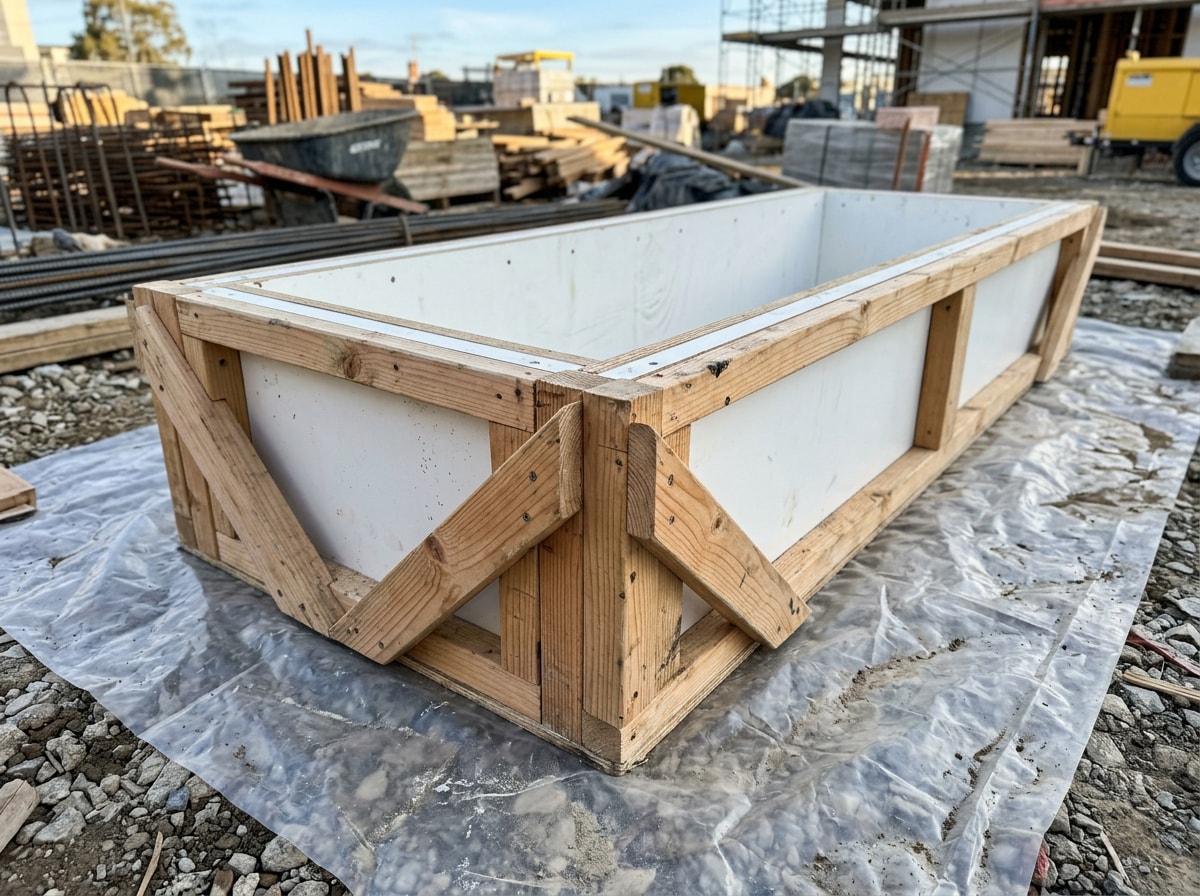
Square the frame with a carpenter's square, brace corners against the outward pressure wet concrete creates, and seal all seams with silicone caulk to prevent leaks. A properly braced mold won't bow mid-pour, which keeps your bench's dimensions consistent.
Mixing and Pouring the Concrete
Consistency during mixing and technique during pouring largely determine your bench's final strength. Before you order bags or a short-load delivery, it helps to know how much material you actually need. Our guide on how many yards of concrete fit in a truck breaks down volume math for small pours like this one.
Mixing the Concrete
Follow the water-to-mix ratio on your bag precisely, since too much water weakens cured strength. Mix in batches small enough for a wheelbarrow, checking for a peanut-butter-like consistency that holds its shape without crumbling.
Pouring Technique
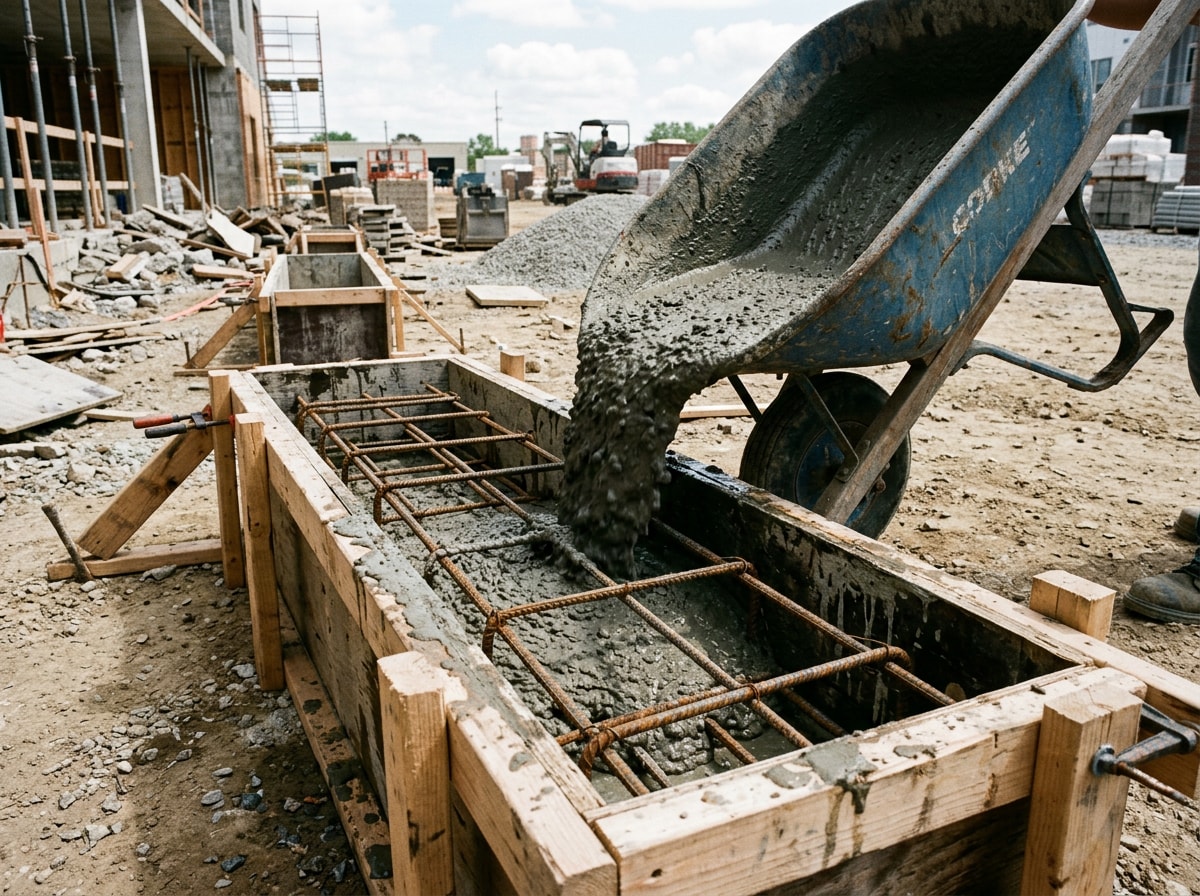
Pour in layers rather than all at once, inserting rebar or wire mesh partway through for reinforcement. Tap the mold's exterior with a mallet as you go to release trapped air bubbles that weaken the surface.
Curing and Finishing the Bench
Rushing this stage is the most common reason DIY benches crack early.
Curing the Concrete
Cover the bench with plastic sheeting to retain moisture for the first 3-7 days, which supports proper hydration. Curing is action taken to maintain moisture and temperature conditions in a freshly placed cementitious mixture to allow hydraulic cement hydration to occur, with sufficient moisture and temperatures above 50°F necessary for the strength gain to continue. Concrete typically reaches initial set within 24-48 hours, becomes walkable around day 7, and approaches full load-bearing strength closer to 28 days. Protect the bench from heavy rain or frost during this window, since exposure can weaken the surface. For the technical details behind this timeline, see ACI's curing FAQ.
Sealing and Finishing Touches
Sand rough edges and surface imperfections once cured, then apply a penetrating concrete sealer rated for outdoor exposure. Decorative touches like integral color or embedded stone are optional. Inspect the bench every six months and patch hairline cracks promptly before winter moisture gets in.
DIY vs. Hiring a Concrete Pro
A single garden bench is a reasonable weekend DIY project if you're comfortable with a mold, a mixer, and a few days of patience. Our crews at Ward Contracting Inc get called in most often for the parts that are harder to DIY correctly:
- Matching bench footings to Charlotte's clay-heavy soil so the slab doesn't heave
- Specifying the right PSI and fiber mix for freeze-thaw exposure
- Pouring multiple benches, seat walls, or a full patio hardscape in one coordinated project
If your bench is part of a larger patio or garden build, it's often worth pairing it with professional residential paving or a landscape retaining wall so grading, drainage, and seating all work together. You can browse completed work on our project gallery or visit the Ward Contracting Inc homepage for our full service lineup. For a quote on a bench, patio, or hardscape project anywhere in the Greater Charlotte Area, request an estimate.
FAQ
What materials do I need to create a concrete garden bench?
You'll need concrete mix (ideally fiber-reinforced, 4,000+ PSI), water, a mold made from melamine or sealed plywood, rebar or mesh, and an optional sealer or integral color additive for finishing.
How long does it take for the concrete to cure?
Concrete reaches an initial set within 24-48 hours and is typically walkable around day 7. Full structural cure for load-bearing use takes closer to 28 days under normal conditions.
How do I ensure my bench is durable and weather-resistant?
Use a high-PSI, fiber-reinforced mix, keep the water ratio tight during mixing, and apply a quality sealer after curing. Inspect it twice yearly for cracks and patch minor damage before winter moisture gets in.
How much does a DIY concrete bench cost compared to hiring a pro?
A single DIY bench usually costs less in materials alone, but a mold, mixer rental, rebar, and sealer add up quickly for a one-off project. Hiring a pro costs more upfront but includes proper footing, mix design, and a finish built to match the rest of your patio or hardscape.
Do I need to anchor a concrete bench outdoors?
A bench poured at 48 inches or longer with a full concrete base is usually heavy enough to stay put without separate anchors. Smaller or precast benches set on pavers benefit from a gravel base and, in some cases, anchor pins to resist shifting during storms.
Is a concrete bench a good fit for Charlotte's climate?
Yes, as long as the mix and cure schedule account for freeze-thaw cycling. The region sees enough freeze-thaw events most winters that a standard low-PSI mix without fiber reinforcement is more prone to surface cracking over a few seasons.